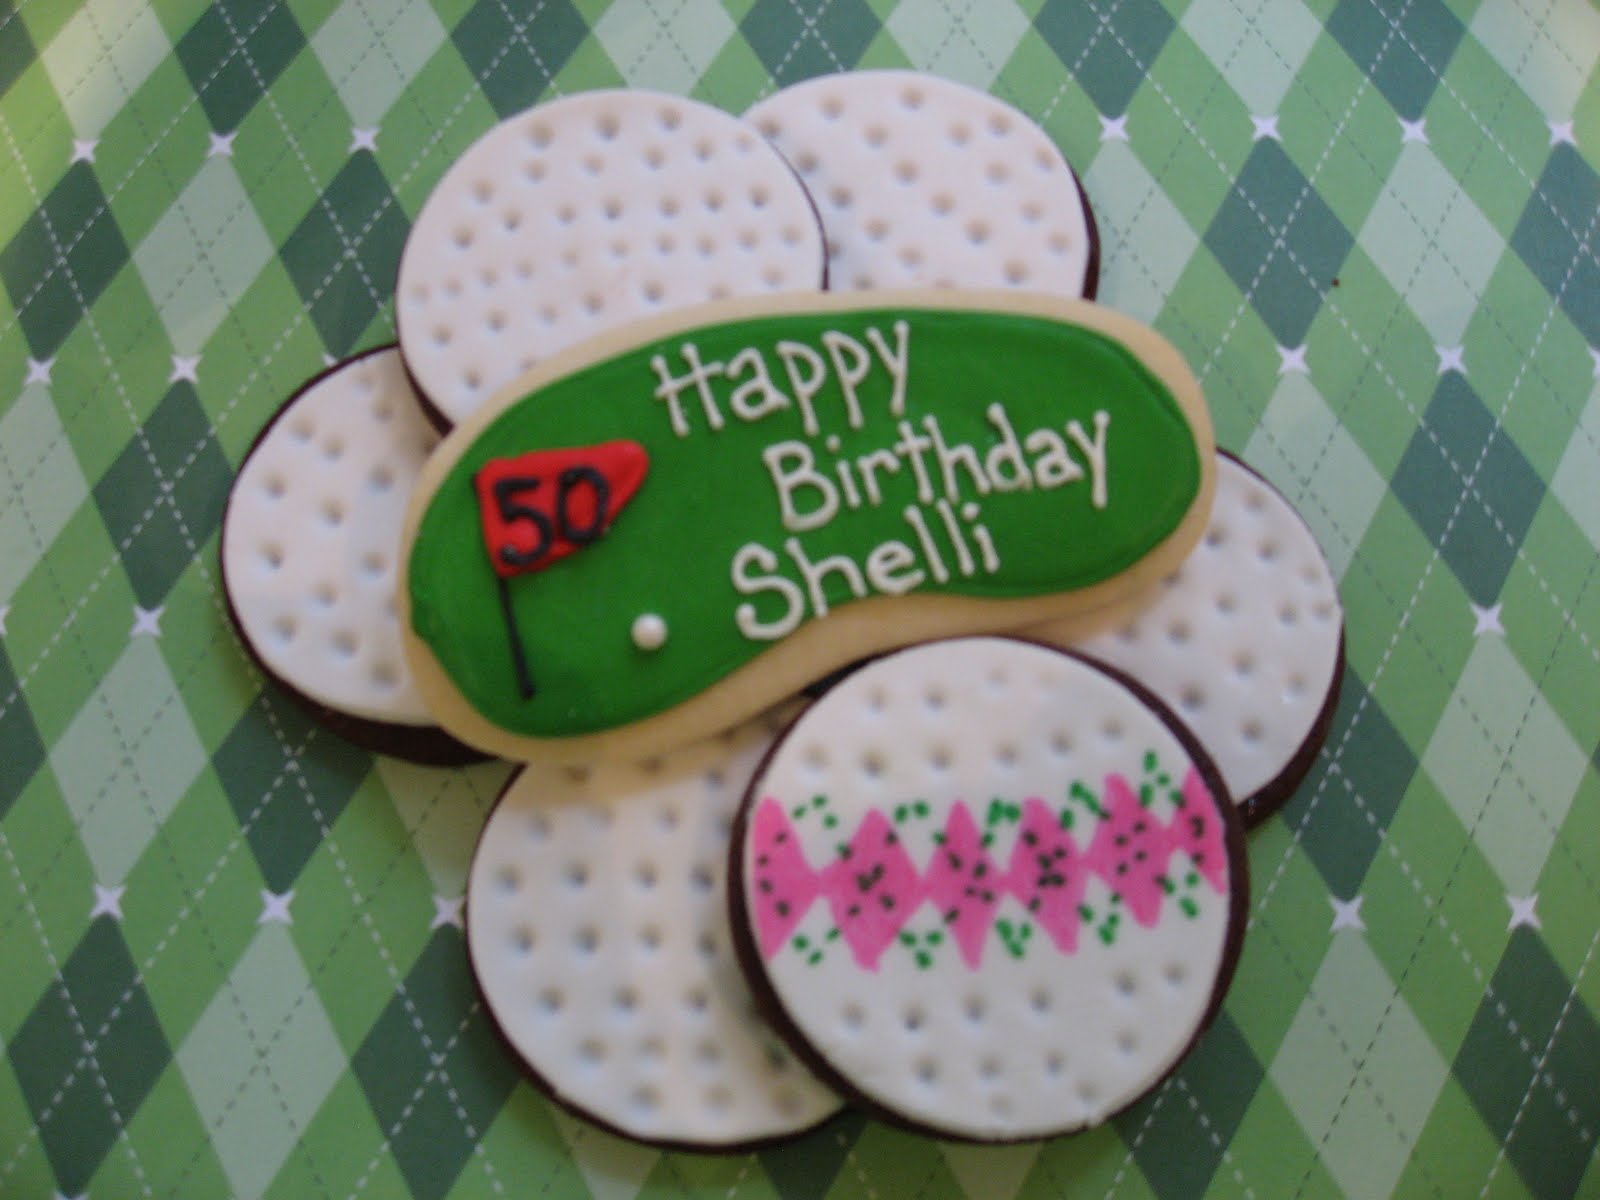
I made these golf green and golf ball cookies for a 50th birthday but know they would also look great with a company or golf tournament name. Hope you can get out, enjoy the sun and see some green this weekend
Friday, July 15, 2011
Wednesday, July 13, 2011
Ginger Doodle Cookies - Recipe
Some people save ginger cookies for the fall or winter but not me, I think they are great all year round. My friend Deny from http://growlingdogdesign.com/ who created my totally cute logo asked for some gingerbread cookies but I thought she needed to taste these Ginger Doodles. That being said she also mentioned she loves the cuteness of a gingerbread man so I made a few Yoga People for her too. I thought I might share the Ginger Doodle recipe with you, and here it is...
2 cups all-purpose flour
2 tsp baking soda
1¼ tsp ginger
1¼ tsp cinnamon
½ tsp salt
¾ cup vegetable oil (preferably canola)
1 cup sugar
2 tbsp coarse white sugar (for sprinkling)
1 large egg, at room temperature
¼ cup + 1 tbsp molasses
Preheat oven to 350o.
I always cover my cookie sheets with parchment paper – you don’t have to do this, but I do, so you may or may want to include this step.
Combine dry ingredients in a bowl -- flour, baking soda, ginger, cinnamon, and salt. Set Aside.
In a large bowl of an electric mixer, beat together oil and sugar until really well combined. Add the egg and molasses, and beat well. Add dry ingredients and mix thoroughly. Drop by rounded teaspoonfuls (I use a cookie scoop to get pretty even size cookies) onto ungreased cookie sheets, leaving one or two inches between cookies to account for spreading out.
Sprinkle lightly with course sugar (you can use regular sugar if you don’t have course sugar on hand).
Bake for 10-12 minutes – until quite puffy and crinkled.
Cool on baking rack.
MAKES 30-36 COOKIES
I hope you make these soon and they make your kitchen smell super sweet and spicy. OR, as with anything on this blog, you can order these and many other interesting drop cookies from Flour Child.
Sunday, July 3, 2011
Strawberry Cookies Forever
Summer strawberries in Ontario are really delicious. Well the good news is, the season is on. I swear they are better than any other strawberries I have ever tasted. Ontario strawberries are fantastic so go find a local farmers market to pick some up and enjoy. The nice thing about these sweet cookies is that you can order them all year round to bring a little summer to your table.
Tuesday, June 28, 2011
Flipping Over These Flops -- YEAH SUMMER!
This Friday is Canada Day. It’s the first long weekend of the summer which is a sacred thing in a country that cherishes its short summers. Whether you are at your cottage, in your backyard or, lucky enough to be away at summer camp, have great long weekends. Make sure to roast some marshmallows and sing the national anthem as they burn. I made these Canada Day flip flops in honour of the holiday. Happy Canada Day!
Sunday, June 26, 2011
Lemon Tree Squares Very Pretty
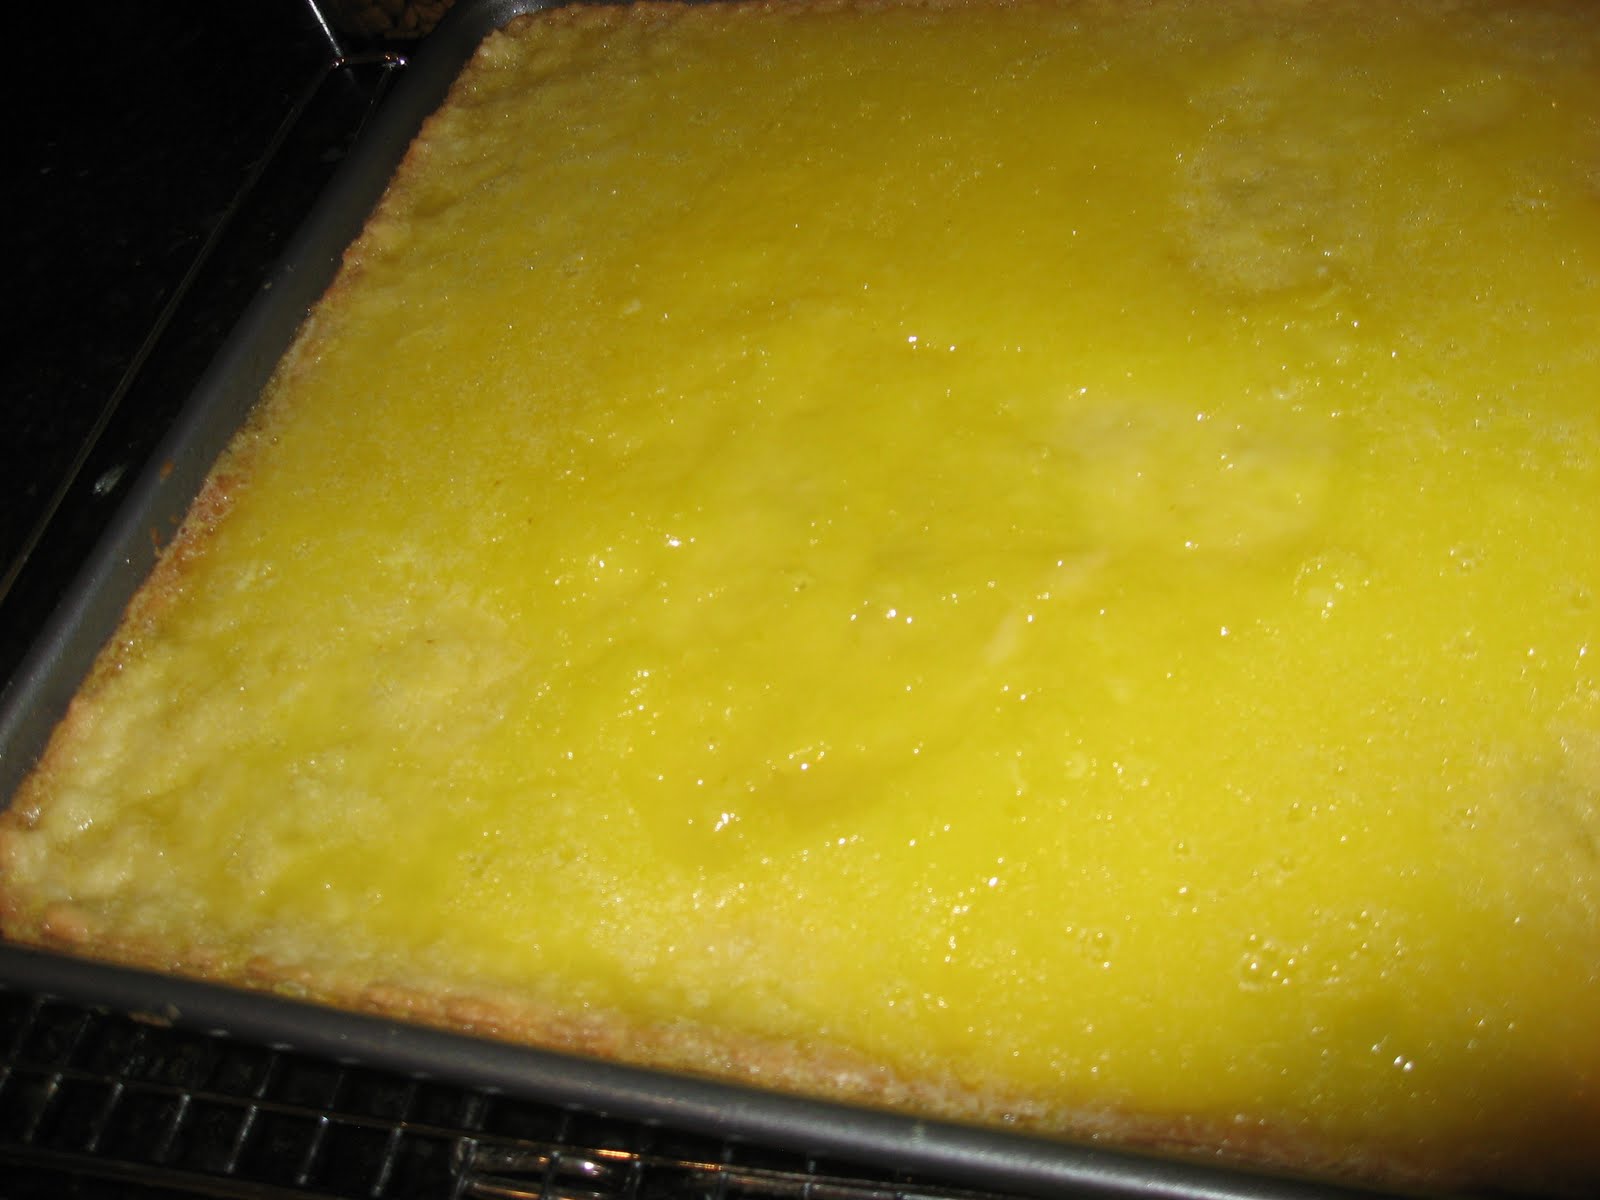
I made lemon squares this week for my Mom's 80th birthday party. They are a nice change from chocolate or sugar cookies. Lemon is just such a fresh taste and squeezing lemons always makes your house smell so good. I hum Peter, Paul and Mary's "Lemon Tree Very Pretty" whenever I make these. The recipe is from Magnolia's with some extra commentary from me.
CRUST
2 cups (4 sticks) unsalted butter, softened
4 cups all-purpose flour
1 cup confectioners’ sugar
½ teaspoon salt
2 teaspoons grated lemon zest
TOPPING
2 cups sugar
6 large eggs, at room temperature
1 cup lemon juice (I squeeze this fresh – it’s the only way to go)
6 teaspoons grated lemon zest
Preheat oven to 350 degrees.
Grease a 12 x 18-inch jelly roll pan. I love Bakers Joy for an awesome release but butter will work too.
Grate the lemons – you need 8 teaspoons of zest. I understand Williams-Sonoma has this glove you can wear that saves knuckles while grating -- I need to check this out and will for sure get back to you on this.

Squeeze enough lemons for one cup of lemon juice. This Chef'n Citrus Juicer from Williams-Sonoma is awesome.
But I can tell you I LOVE taking pictures of lemons!
In a large bowl, on a low speed of an electric mixer, combine all the ingredients until mixture resembles coarse crumbs.
Spread crust evenly into prepared pan. Use a large piece of waxed paper to firmly and evenly press down the crust. I actually roll the crust down under the wax paper – it creates a pretty even crust which is important for the lemon to spread evenly over the crust. Bake the crust for 18-20 minutes until lightly golden. Remove from the oven and let cool for 15-20 minutes before proceeding.
While the crust is cooling, make the TOPPING:
The recipe says to cut into 24, three-inch bars but I cut mine into circles just for fun. I think I’m going to hunt around for a lemon cookie cutter as this would look even cuter don’t you think? Either way this is a really refreshing dessert. And lots of people asked for the recipe so here it is to ENJOY. A nice light dessert to compliment a summer BBQ or brighten up a winter night.
Thursday, June 9, 2011
ConGRADulations!
June is the month that people are graduating. Whether it is nursery school, grade school, high school, college or university -- graduation is a big accomplishment and should be celebrated. And anything worth celebrating needs cookies -- so I made these graduation caps and think they are worth the Pomp and Circumstance march (you know... dum dum dum dum dum dum dum...).
Thursday, June 2, 2011
Ladybug, Ladybug...
Ladybugs are so darn cute -- they are little, fly and are polka dotted -- really what more could you want? So I made a bunch of these to package up for clients -- its a perfect hostess gift.
I used my chocolate brownie cookie recipe for these cutie bugs. I think this recipe is best for smaller cookies because they are so moist so larger cookies could be too heavy and break.
Roll out the dough. I got this cookie cutter from Copper Gifts. The cookies are about 1.5" x 1.5" and a perfect bite size that is still big enough to decorate reasonably
1. In black, outline wings and put a line down the middle.
2. Pipe the head and add two white non-perils for the eyes.
3. Flood the wings with red.
4. Add black polka dots with a thinned out black icing (I think pink heart sprinkles could also look fun) and a small dot on the eyeballs with an edible marker.
I used my chocolate brownie cookie recipe for these cutie bugs. I think this recipe is best for smaller cookies because they are so moist so larger cookies could be too heavy and break.
Roll out the dough. I got this cookie cutter from Copper Gifts. The cookies are about 1.5" x 1.5" and a perfect bite size that is still big enough to decorate reasonably
Materials Needed for Decorating:
- royal icing -- I cannot stress enough how much I love the royal icing when made with Ateco meringue powder
- piping bag
- piping bottle for flooding the cookies and the dots
- gel colours of your choice -- I used red, black but I think these would be cute in pink too
- white non-perils
- black AmeriColour Gourmet Writer
- tweezers
![]() |
1. In black, outline wings and put a line down the middle. 2. Pipe the head and add two white non-perils for the eyes.
3. Flood the wings with red.
4. Add black polka dots with a thinned out black icing (I think pink heart sprinkles could also look fun) and a small dot on the eyeballs with an edible marker.
I think these turned out CUTE AS A BUG and hope you do too!
Subscribe to:
Posts (Atom)