When I was growing up (way way back when dinosaurs roamed the earth) we called the kids who sucked up to the teacher “browners”. Now I have also heard terms like teachers pets, brown nosers, nerds, keeners … but in truth I think these names simply refer to the SMART KIDS!
I’m so SMART that
I decided to embrace my inner keener and make something to suck up to all of
you. I came up with these totally
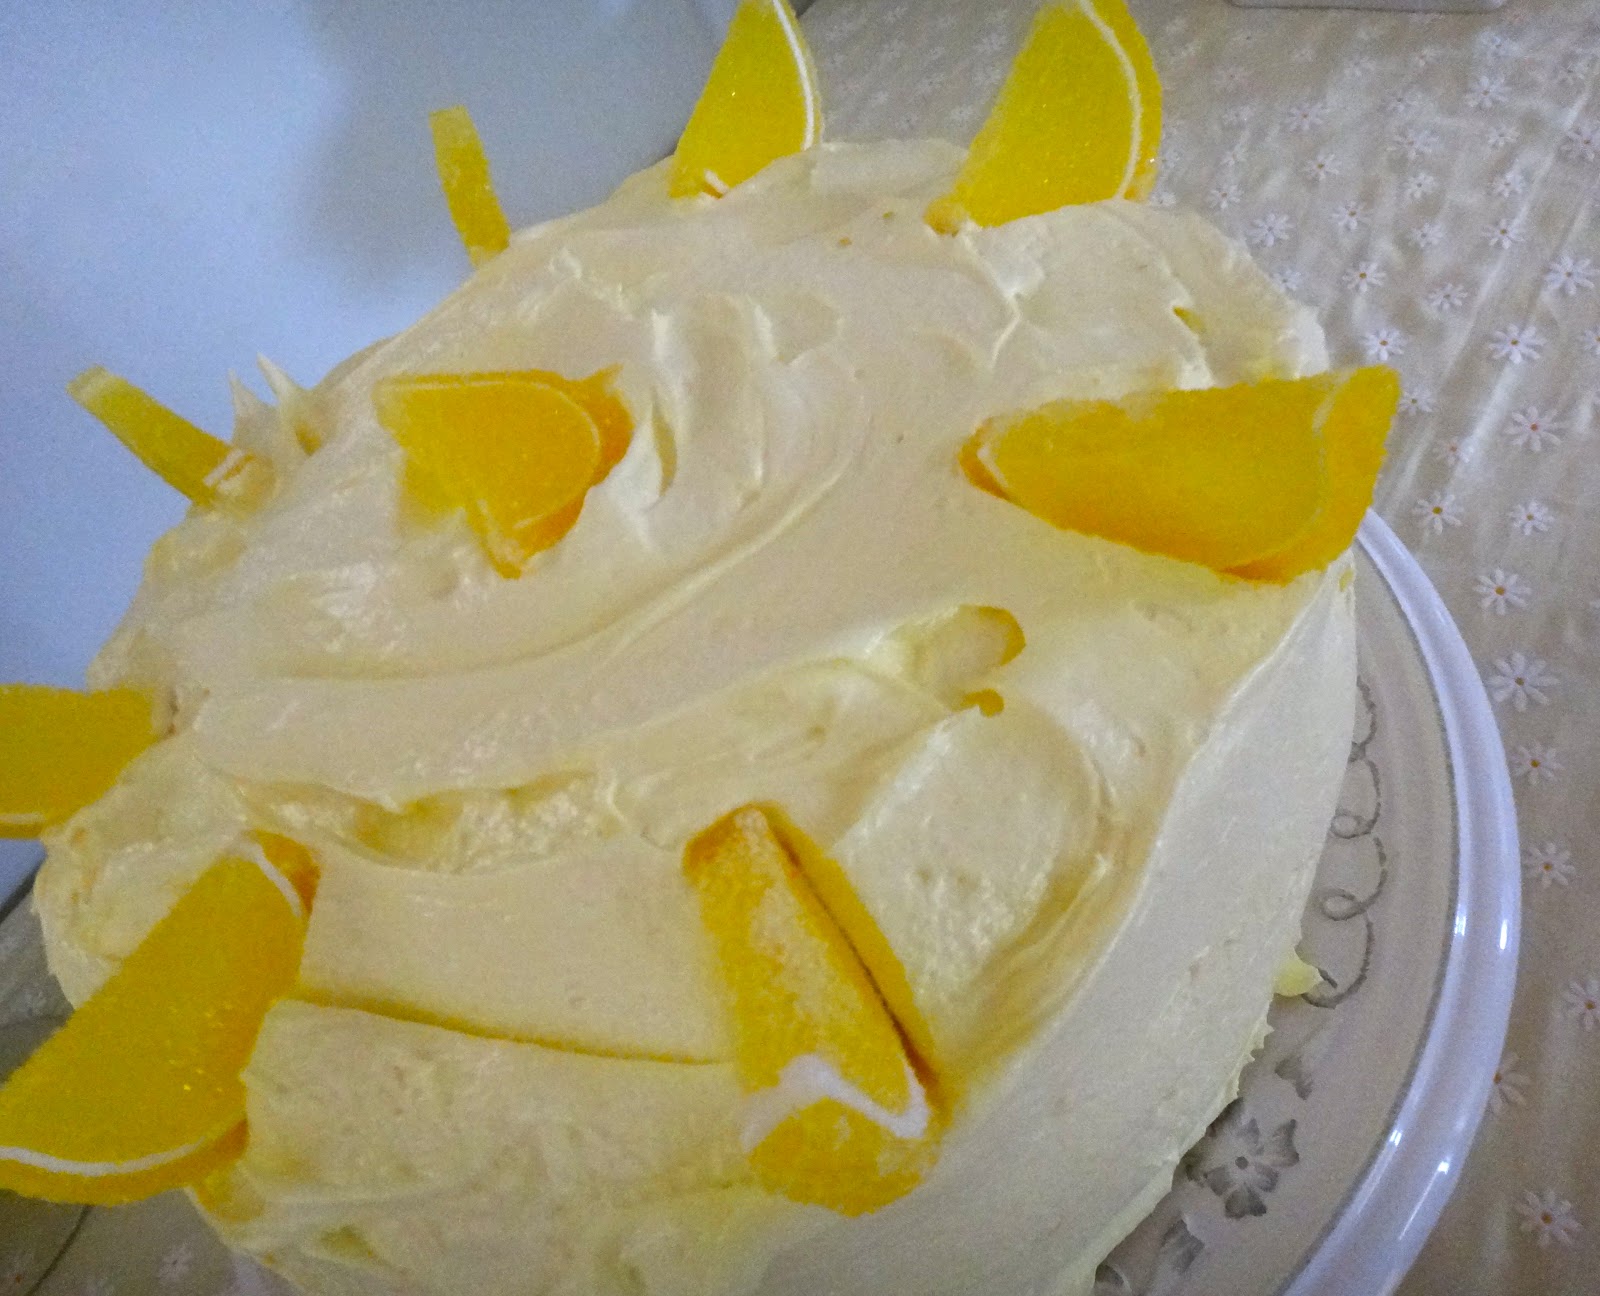
awesome BROWNER BROWNIES. I love
them because they have a graham crust, chocolate chocolate brownies and are
drizzled with caramel. Seriously,
how keen am I?
Back-To-School
can be a hard time – getting organized, waking up early, new schedules, car
pool, making lunches never mind the pressure for kids with new grades, schools,
friends & teachers AND the right outfit…so I was thinking if you bake these
this weekend they may make next week a little sweeter.
These are great
because they are something that you can put in a litterless, nut free (how
politically correct am I?) lunchbox or have for a pick-me-up after school
snack.
Ingredients
Crust
4 ½ cups graham cracker crumbs
1 ½ cups unsalted butter melted
Brownies
2 2/3 cups all
purpose flour (you know I only use Five Roses)
2 tsp baking
powder
1 tsp salt
8 oz
unsweetened chocolate
1 cup unsalted
butter
8 eggs (room
temperature is best if possible)
4 cups sugar
3 tsp vanilla
extract
Topping
Your favorite
caramel sauce
Directions
Preheat oven to
350o or 325o if using a bake/convection setting.
Crust
Combine graham
cracker crumbs with melted butter in a bowl – I always use a wooden spoon when
lots of melted butter is involved.
Press firmly into
13 x 18 cookie sheet with a rim.
You don’t really need to grease the pan but I often will spray with
Bakers Joy just to make cutting WAY easier.
Brownies
Combine flour,
baking powder and salt in a bowl and set aside.
In a saucepan or
over a double boiler melt chocolate and butter until smooth. Remove from heat and let cool at least
10 minutes.
Beat eggs until
fluffy (at least 3 minutes) and add sugar, gradually, until really fluffy
(another 3 minutes). Add cooled
chocolate mixture and mix well.
Then add the flour mixture and vanilla until combined. NOTE: It’s such a big recipe that I
stirred it from the bottom and then mixed it more.
Pour batter on
pressed graham crust.
Bake 30 – 35 minutes.
Do not over bake
brownies (EVER;)
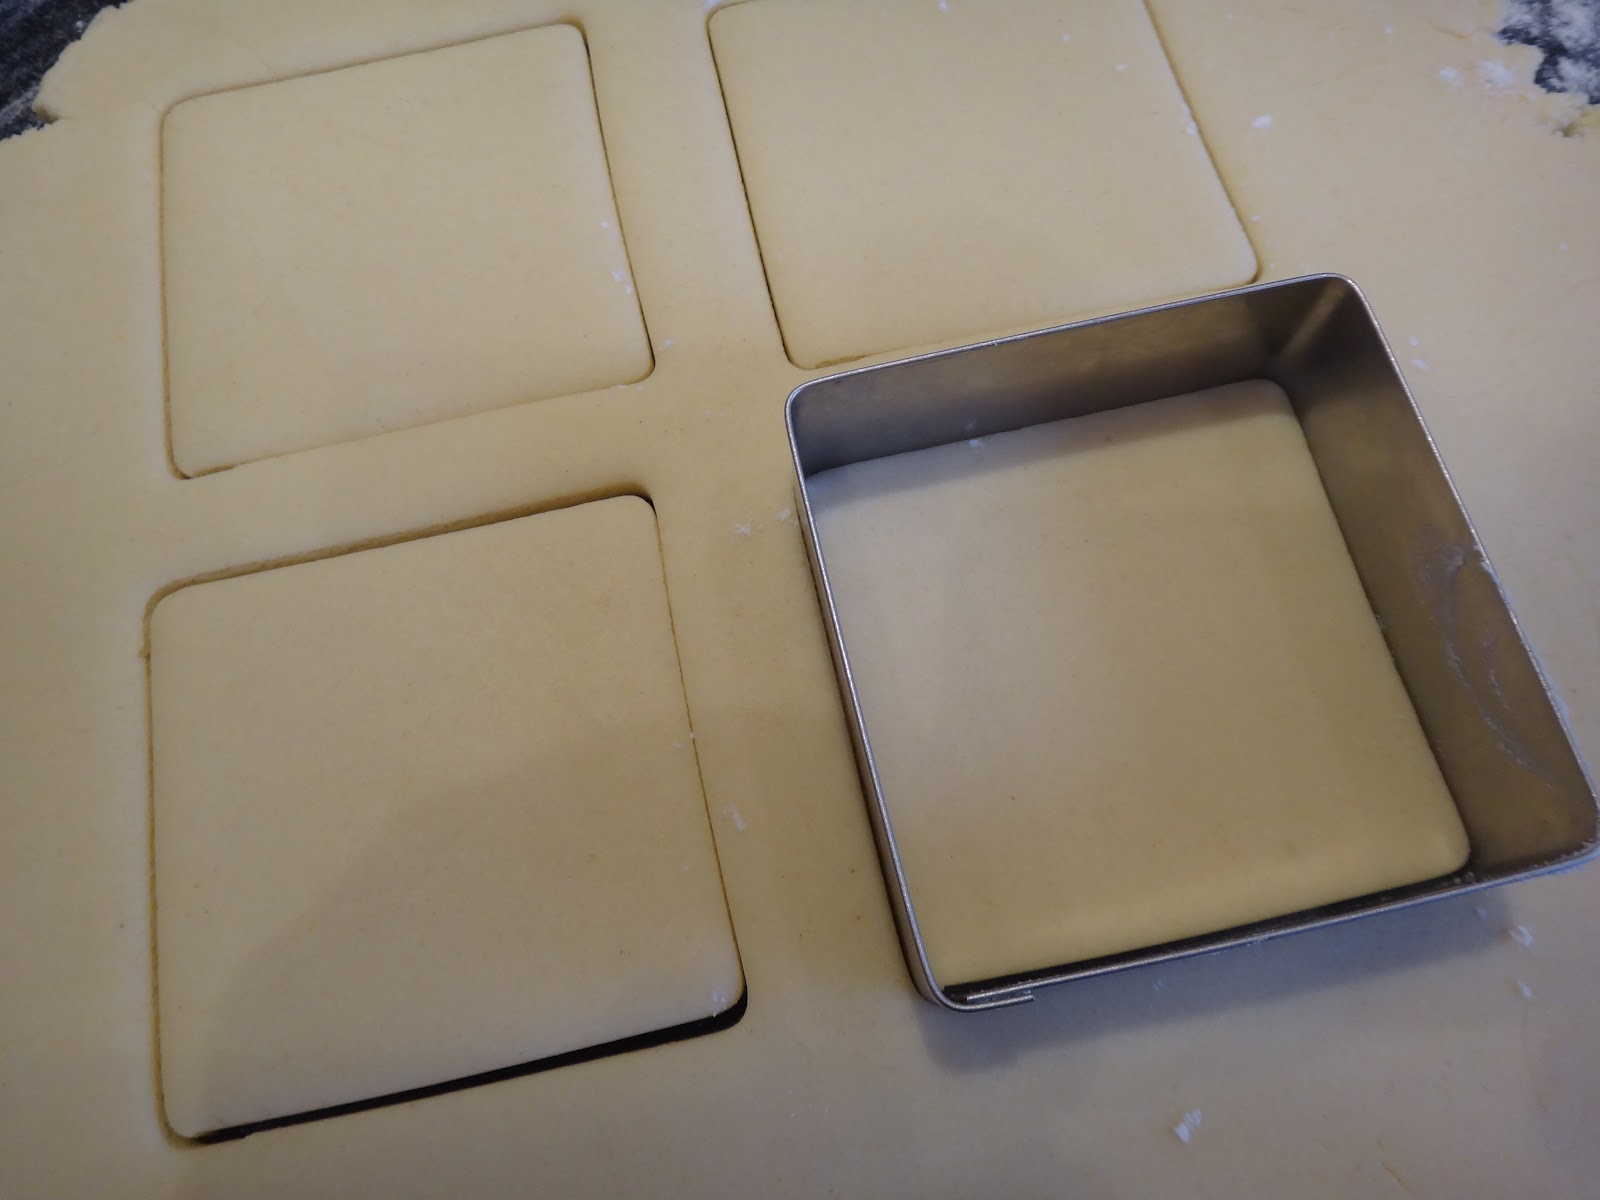
When cooled cut
and drizzle with caramel sauce.
(NOTE: I used a square
cookie cutter to cut the brownies but you don’t really need to be so “fancy” –
a good old knife works perfectly.)
This yields lots
of browner brownies so maybe BE SMART and invite some old and new school friends over to
celebrate (or commiserate – hey I’m not totally deluded) this 2012/13
back-to-school year.
HAPPY BACK TO SCHOOL!